Water - How to make water in hammer.
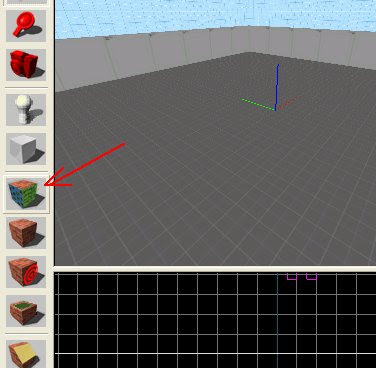
To make water first click on the texture tool.
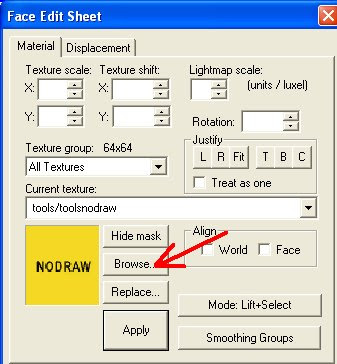
Then click browse.
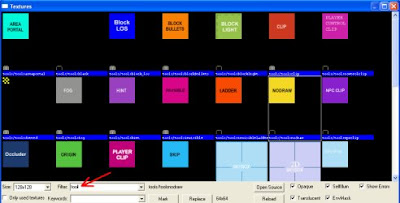
Type tool in the "filter" dialog box.
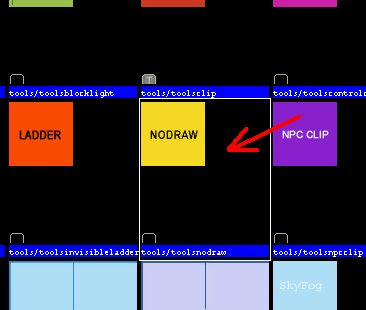
Select the nodraw texture. Double-click on it to select it.
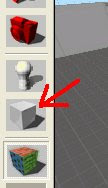
Select the block tool.
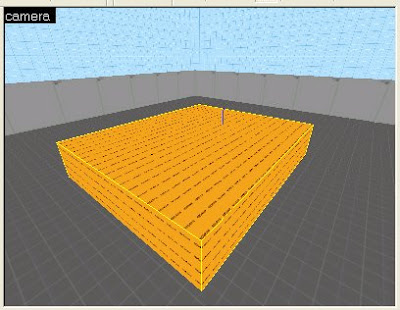
Draw a square brush.
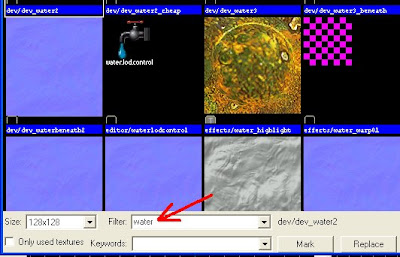
Click the texture tool, click browse and type water.
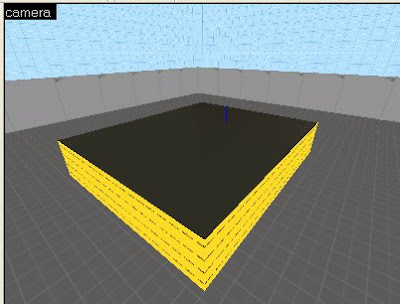
Select a water texture, and apply it to the top of the brush only. I used "nature/sewer_water001". The other sides have to stay nodraw. And be aware that not all of these water textures work correctly. So if the one that you choose doesn't look right, then select a different water texture.

Then click on the entity tool.
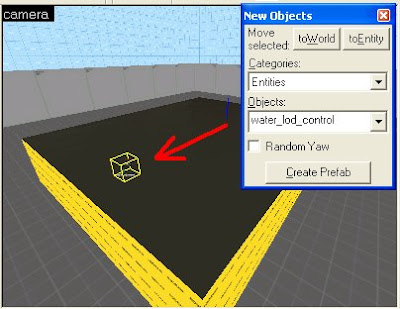
And select water_lod_control in the objects pulldown menu. And place it above the water. water will work without this, but This makes the water look better. (you only need one for whole map)
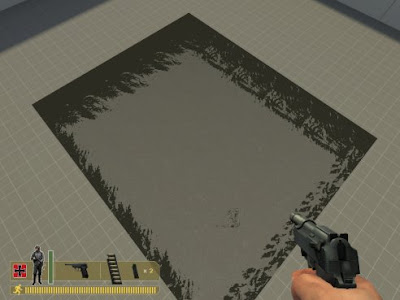
Compile the map, and you have water.
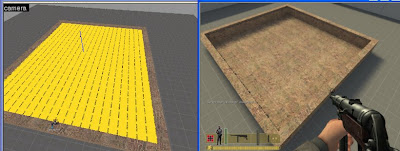
If you put the water in something like a swimming pool, it is important to make sure that the water brush lines up exactly with the wall of the pool or you will get some weird effects underwater. (used nature/water_anzio001 in example)
If you compile your map and you cannot see the water. Then you want to check your map for leaks. If you don't know how to check for leaks, see lesson 2 on how to fix leaks. Also an invalid brush might cause water not to show up. So if you have a complicated brush, or you did a lot of vertex editing, that can also be the cause.
Also know that some water textures are only made to be seen from above. If you swim in these waters when you look up you will see pink and purple checkerboards. So when you compile your map, make sure you check that out.
(For example: water_anzio001 can only be seen from above, and water_anzio001_cheap can be seen from above and below.)
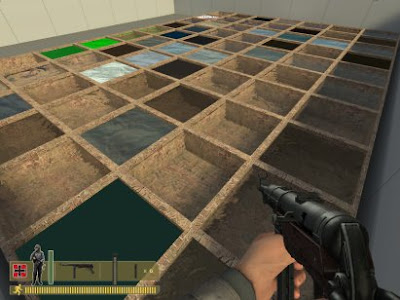
You can make a sample map with a bunch of little pools and use all the water textures so you can see which one you want to use.
GOTO LESSON 14


